Setting Risk inside tickets
To set up risks within a JIRA ticket using the Risk Analyzer application, follow these steps:
Create a JIRA Ticket: Begin by creating a JIRA ticket for the task or project you wish to manage. This ticket will serve as the container for your risk assessment.
Open the Ticket: After creating the ticket, open it by clicking on its title or accessing it through your JIRA project.
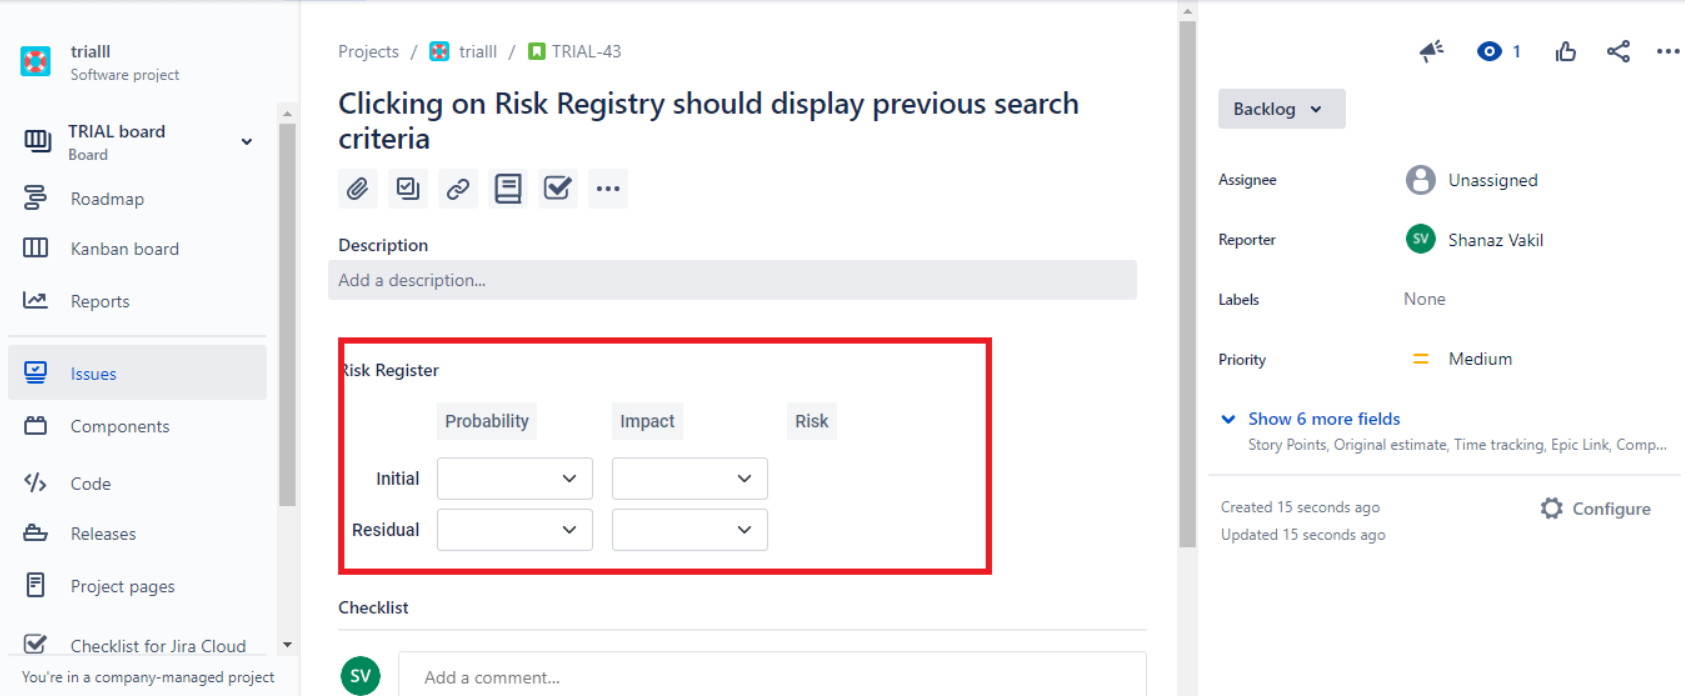
Default JIRA Ticket Screen: You will be directed to the default JIRA Ticket screen, which displays various details and attributes of the ticket.
Risk Analyzer Section: Scroll down on the ticket screen, and you will encounter the Risk Analyzer section. In this section, you have the ability to assign risk-related information, including both Initial Probability and Impact as well as Residual Probability and Impact.
By assigning these risk parameters within the Risk Analyzer section of the JIRA ticket, you can effectively assess and manage potential risks associated with the task or project, helping you make informed decisions and take necessary actions to mitigate risks.

