
Creating an advanced Queue
After successfully installing Advanced Queues for Jira Service Management, accessing the app is a straightforward process:
Navigate to the App:
In your Jira environment, locate and select the Advanced Queue icon. This icon is typically found in the side panel or navigation menu.
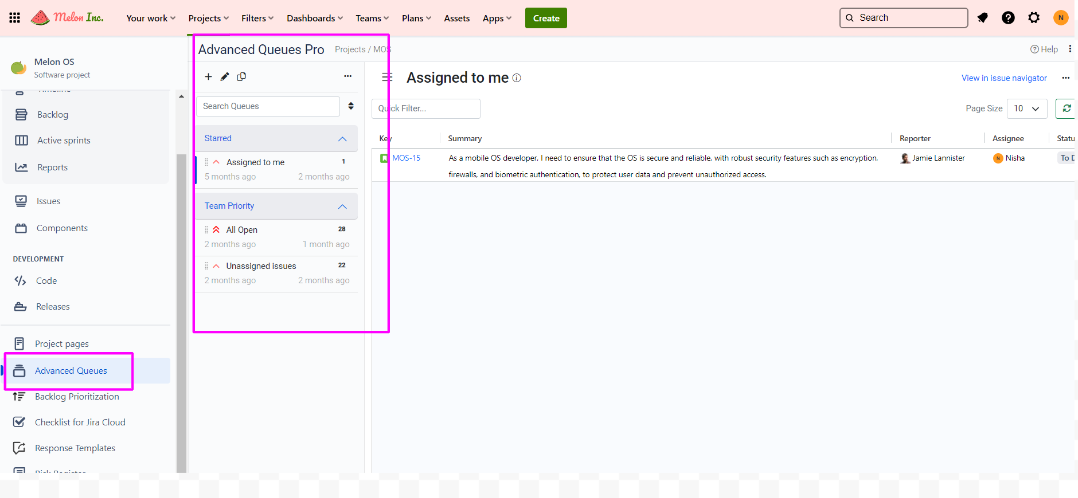
Adding a Queue:
Within the app interface, you'll find a "+" icon. Click on this icon to initiate the process of adding a new queue.
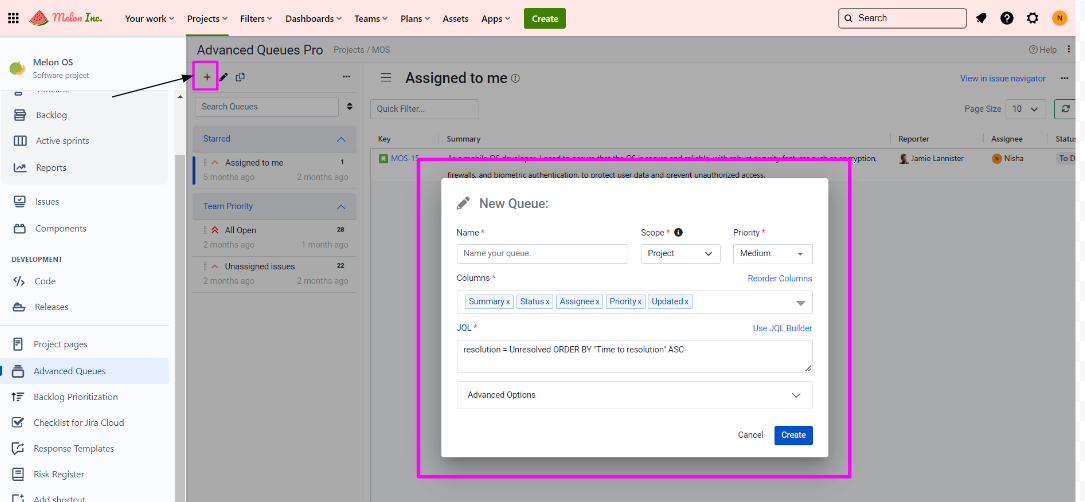
On this screen, you have the flexibility to:
Select and Reorder Columns: Choose the specific columns you want to display in the queue and arrange them in your preferred order.
Manage Visibility: Determine which groups of users should have access to view the queue, allowing for precise access control.
Define Queue Scope: Set the scope of the queue to align with your specific requirements and objectives.
By following these steps, you can easily access the Advanced Queues app and begin the queue creation process, enhancing your issue management capabilities within Jira Service Management.